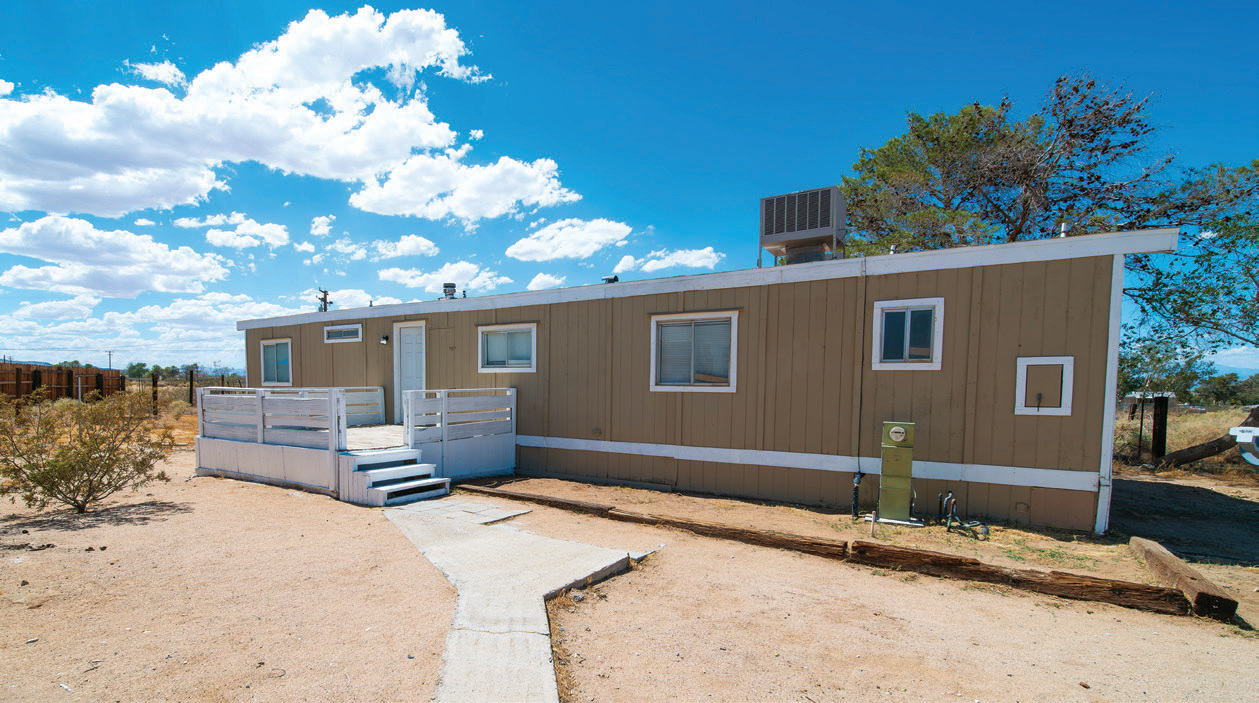
Q: I live in a manufactured home. How can I keep the inside temperature more comfortable and save on energy bills?
A: There are several tasks you can complete to improve comfort and use less energy in your manufactured home. I started my career in energy efficiency as a weatherization technician in Wisconsin. In this role, I helped people in manufactured homes by air sealing; duct sealing; adding insulation; and installing new windows, showerheads, faucet aerators and lightbulbs.
More than 22 million Americans live in manufactured homes, according to the National Association of State Energy Officials. Manufactured homes represent 15% of housing in rural areas and only 3% in urban areas.
Knowing how manufactured homes are built helps us understand where we can seal in savings around the house. These homes are constructed in factories and then transported and set up on-site. Construction in a factory reduces costs, making manufactured homes an affordable option. That lower price point can come, in part, from the use of less expensive equipment and fewer materials such as lower-efficiency heating equipment or less insulation.
If you are considering buying a manufactured home, Energy Star-certified manufactured homes are 30% more energy efficient than standard models and offer a variety of options that increase the home’s energy efficiency.

If you already live in a manufactured home, you likely know that they are constructed in sections. One section is a single-wide home, two are combined to make a double-wide home and three make a triple-wide home.
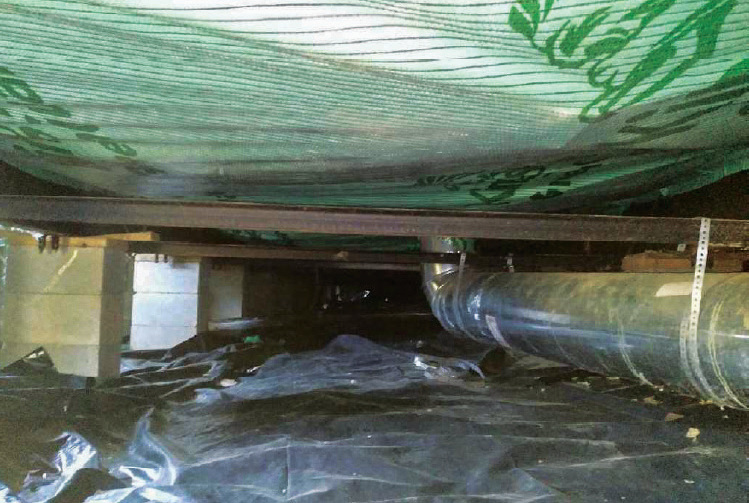
In my experience, the biggest issues were in the duct systems, which deliver heating and cooling throughout the homes. The ductwork is typically located in the cavity between the floor and the transport barrier that protects the underside of the manufactured home while it is transported from the factory to the site. Typically, one long duct runs the length of each section of the home with the registers or vents cut into it.
The first step is making sure all registers are accessible, open and not covered by furniture, rugs, dog beds or anything else.
Next, check your ductwork by removing the registers and looking inside. Anything inside the duct will restrict airflow, so check that it is free and clear. Use a mirror and flashlight to look into the duct or take a picture by sticking a camera or phone inside and snapping some shots with flash in each direction. I’ve pulled all kinds of things out of ducts over the years — from garbage to toys to shoes.

If you have a double-wide or triple-wide, you will likely have a crossover duct that joins the ducts in each section. The crossover duct is typically a large flexible duct with an inner liner, insulation and an outer cover to protect the insulation. Damaged or disconnected crossover ducts allow the air you pay to heat and cool to escape under the home. Often, damage is done by animals chewing or scratching to get inside the warm area. An inspection of the crossover duct requires crawling under the home. That’s a dirty job and often a tight spot, so you might choose to hire a professional.

Another place to check is the joint joining the sections of a double-wide or triple-wide together. This is often covered by trim when the home is placed. You can caulk around the trim or remove it and caulk underneath to reduce air leakage.
Weather stripping doors and windows to make sure they seal tightly will also reduce drafts and save energy. Some homes can benefit from additional insulation in the attic or under the floor. Those projects typically require specialized equipment or help from a professional.
Weatherization assistance programs like the ones offered by the company I worked for in Wisconsin provide discounted and no-cost energy-saving upgrades. Check with your county or electric utility for more information.


